In maestro view, Simulation Files, then add to definition file your_file.txt
The file content:
simulator lang = spectre
save so_*	exclude=[*:*_so_* *other net"]
In maestro view, Simulation Files, then add to definition file your_file.txt
The file content:
simulator lang = spectre save so_* exclude=[*:*_so_* *other net"]
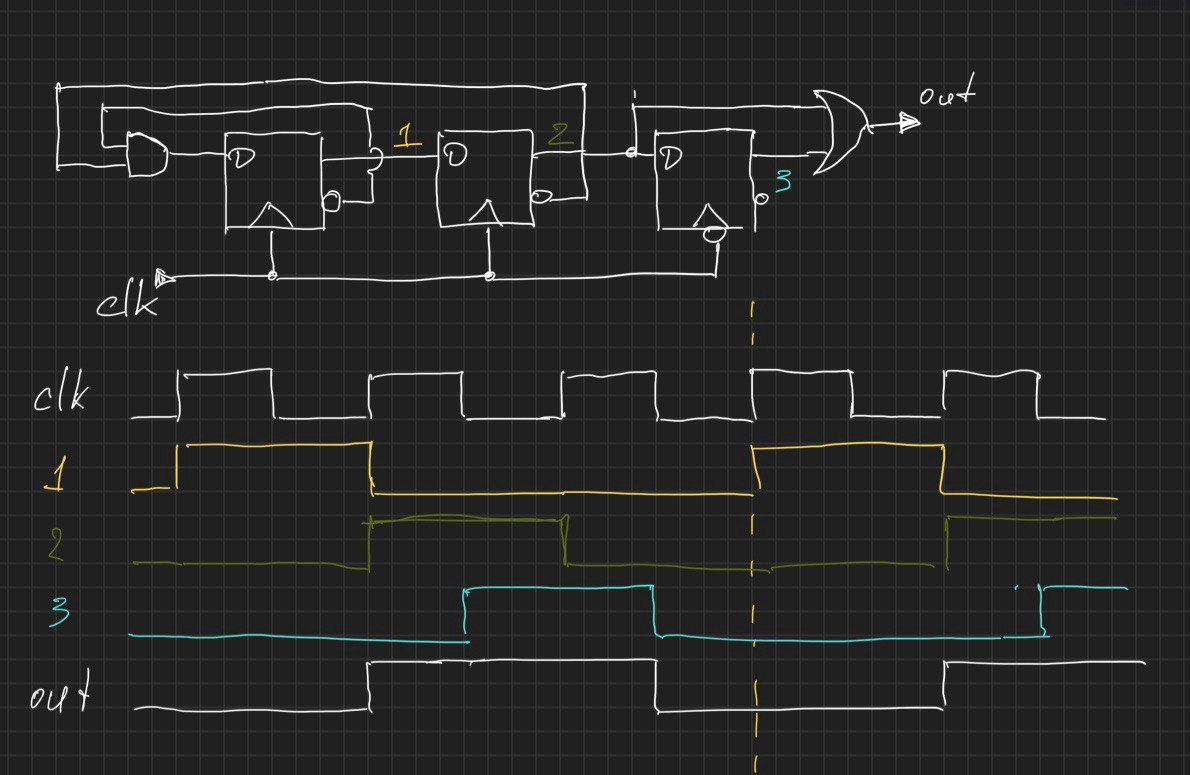
Since I already described the process in my previous post, this one is going to be much shorter.
So, let’s use the same example of the divide by 3 circuit:
I am not going to explore ton of different tools, at some point I found EDA playground website and it worked quite well for me. So this is a deal, we will use that for online quick tests. Note: you will need to use a working email for a free account.
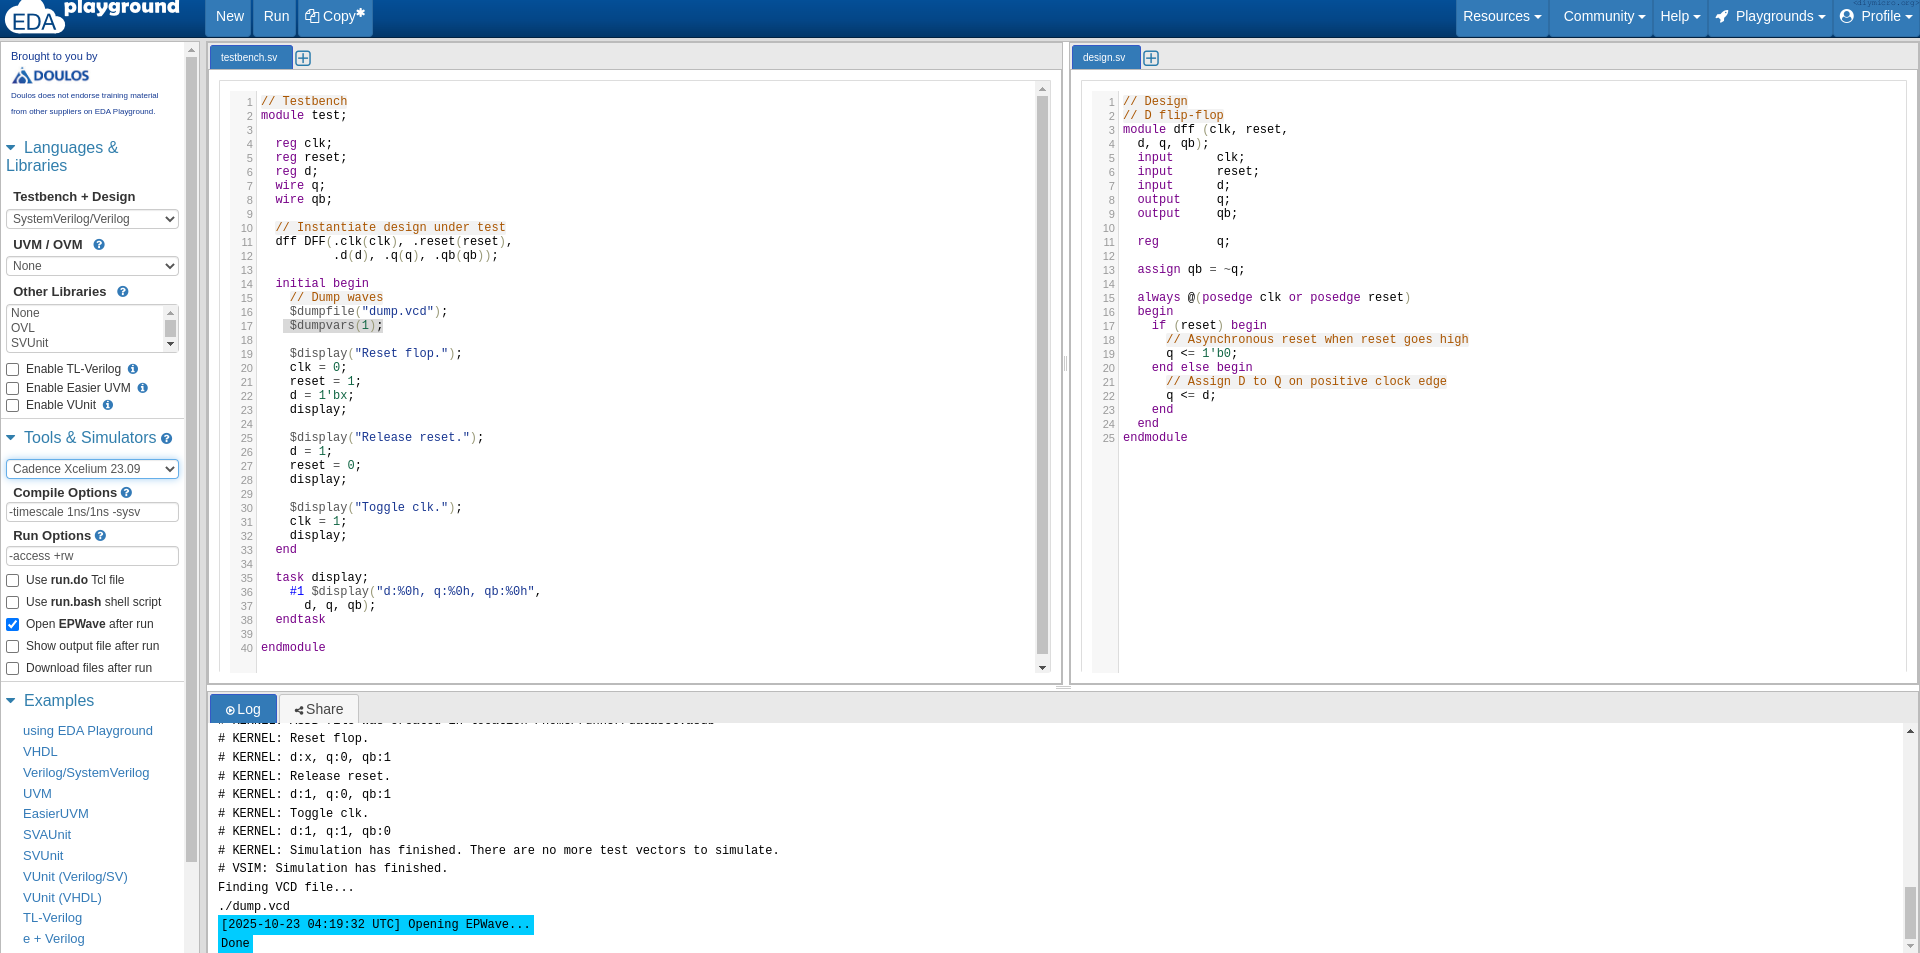
I prefer to use xcelium simulator since it align with xrun command we use in cadence. They start the sim screen from two code windows: left one for the testbench and the right one for the block itself, though I did not get why do we need it, you can as well add new tab as new file or describe a new module right inside of the testbench code.
Continue readingAt some point of time we built together with my daughter a simple mechanical elevator and then I had an idea – why not to make it motorized and have just couple of buttons and have a bit of experience with the H bridges and motors.

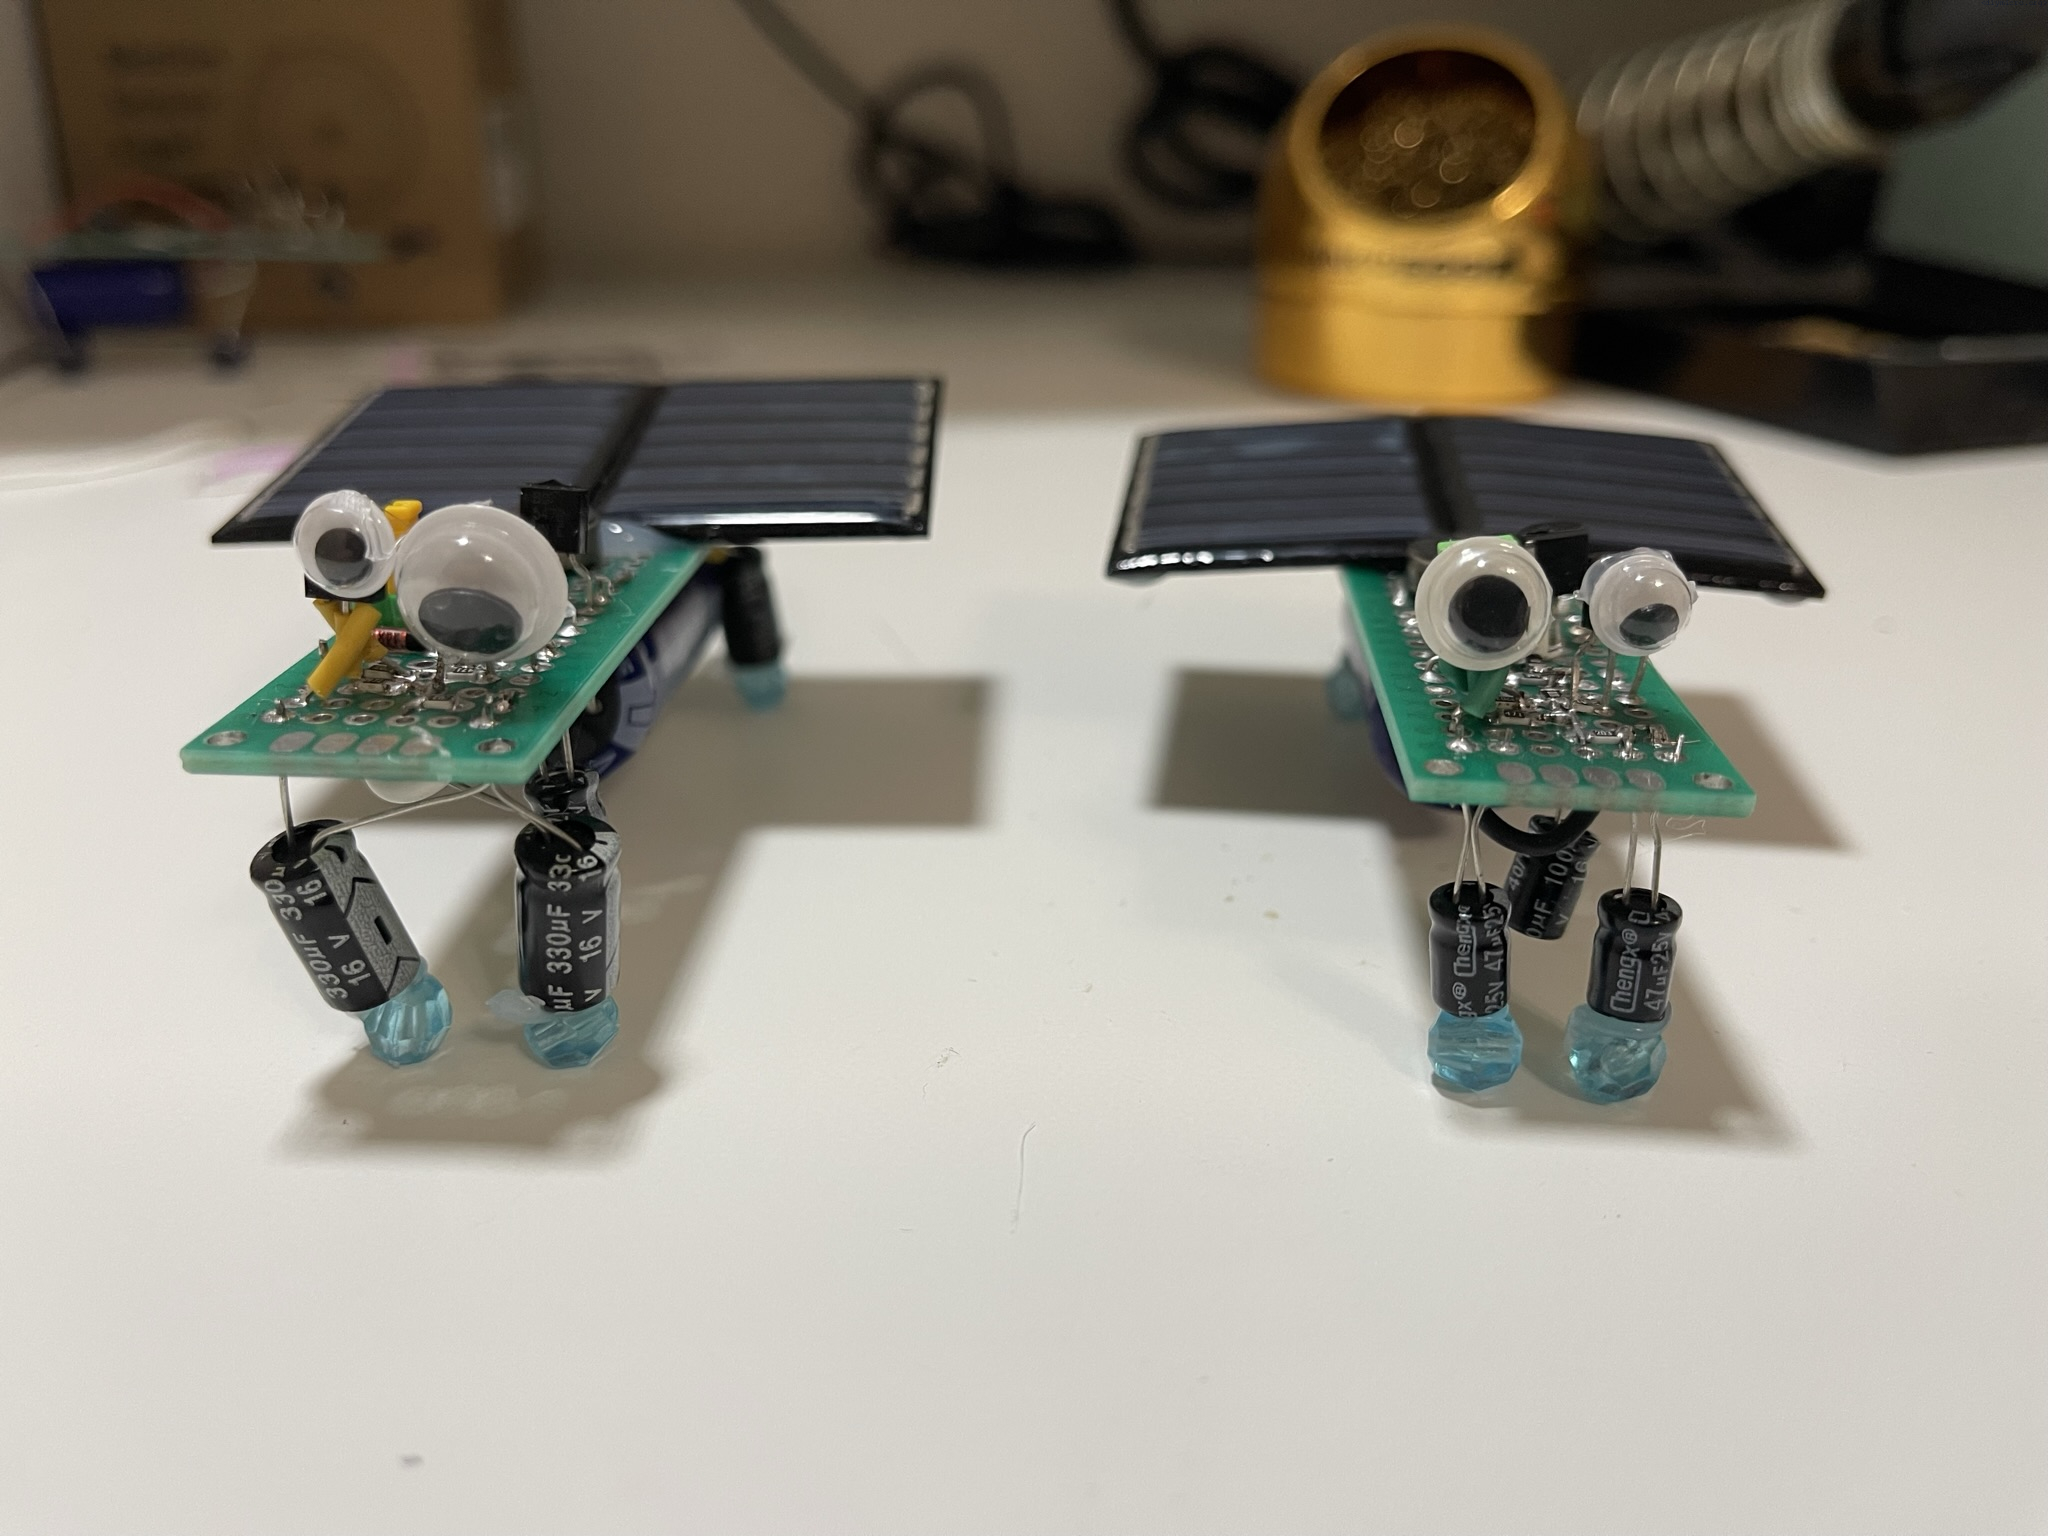
Recently my daughter brought a journal from the local library. There was a bug bot my daughter said she wanted to make and it was dead simple. There was just one problem with that – I did not get how it could work at all – there was just a solar cell and the vibration motor just connected directly. The motor needs like constant 60mA of current, how is that possible that a tiny solar cell can provide that?
So I ordered cheap motors and cheap solar cells from a you-know-the-name website and guess what, it did not work.
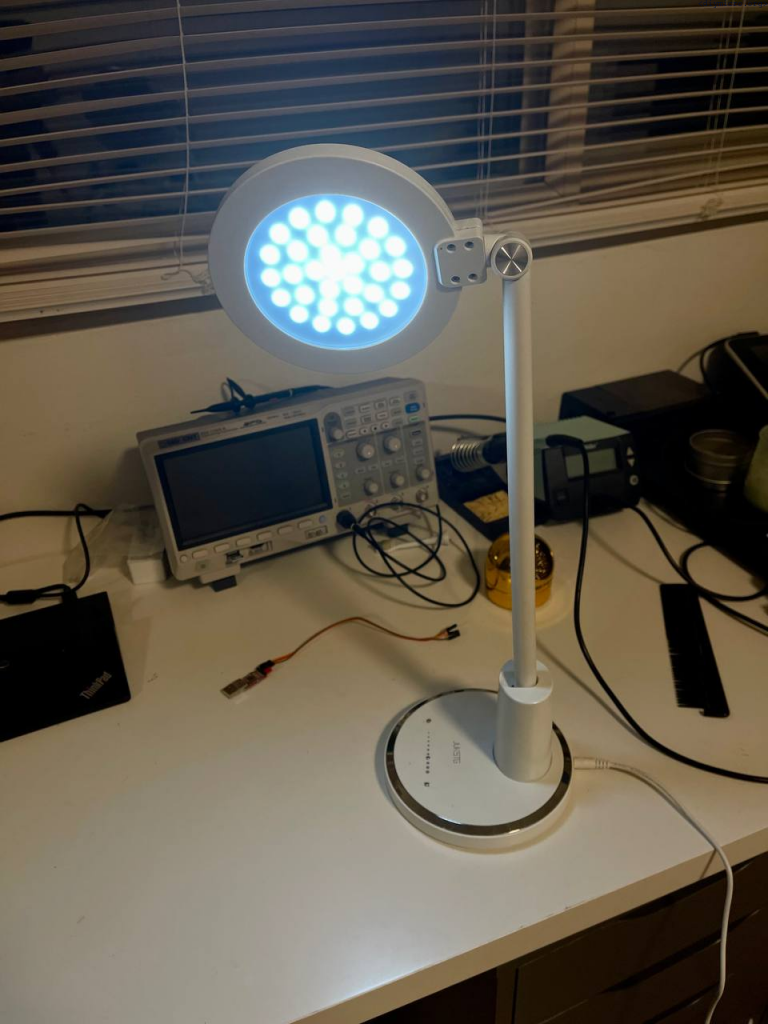
At some point I got the cheap lamp from amazon, it costs about 12$ but worked surprisingly well till some point… Looking under the hood revealed some ugly solutions:
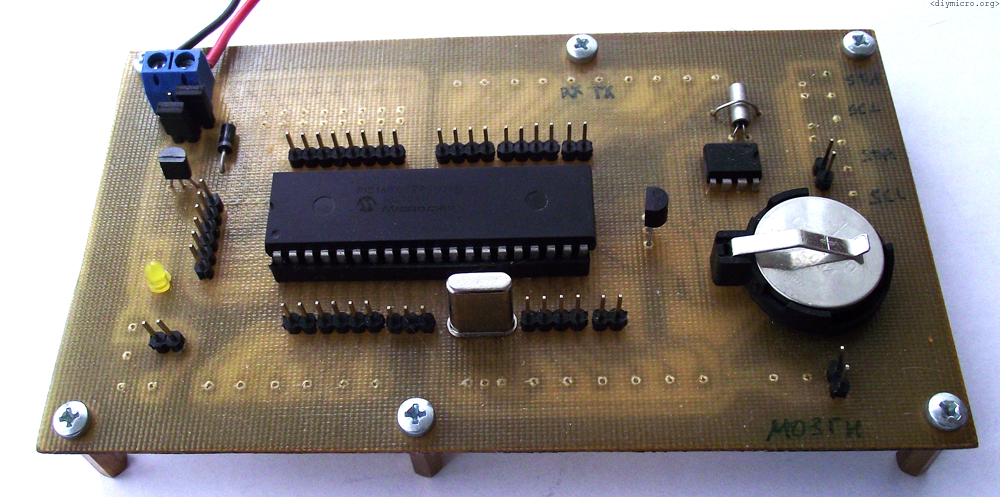
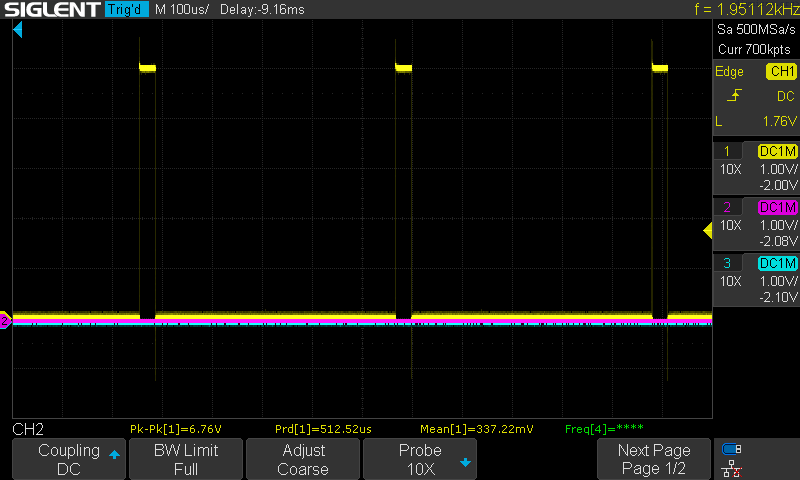
Task: To study the PWM module usage for LED brightness control
Tools: PIC18f1230, scope
Task: To study the possibility of using of the DIY touch capacitive sensor on the pcb
Tools: PIC18f1230, a pcb with exposed square copper areas
So long story short, my cheap amazon lamp did not survive for a long time, but I really did like the LED light it gave. In the article below I will describe how to use a copper pad and the pic microcontroller without much additional circuitry.

Recently, I was constantly struggling with the fact that microchip was removing more and more support libraries, so it was not wise to rely on them in all projects. Anytime I return again to my old functions – if it used the support libs, there is a pretty good chance it is screwed.
So this code works with XC8 version 2.36 and doesn’t require the involvement of extra support lib.
Continue readingThe project which unfortunately was not finished due to my relocation to other country and taking such a project with me certainly would raise some question at the security control 🙂