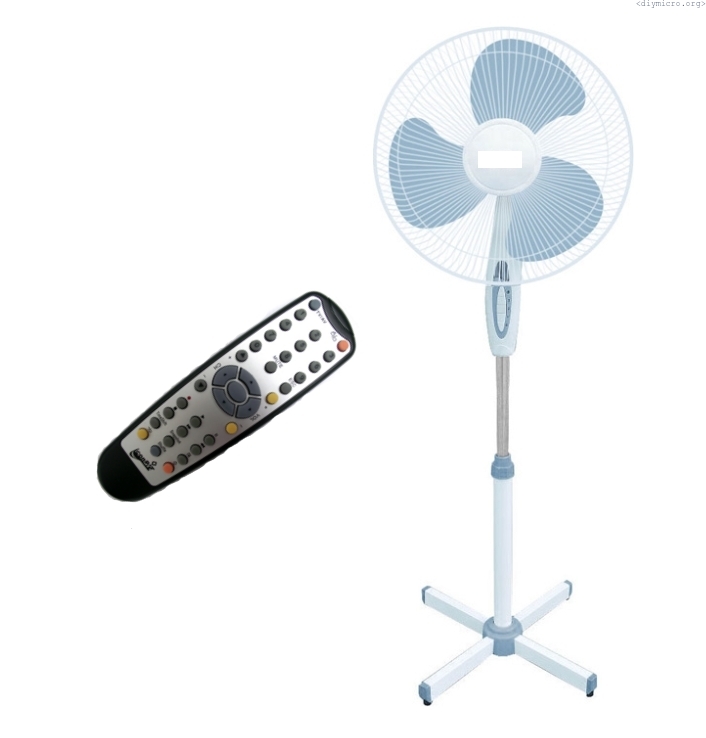
The original post has been written in 2012 year.
The time has came to build the PCB for the actual DIY audio amplifier. I decided to go with TDA7294.
The original post has been written in 2012 year.
The time has came to build the PCB for the actual DIY audio amplifier. I decided to go with TDA7294.
Now it is time to provide an appropriate voltage supply for the audio-amplifier. Since I care about the noise and the amplifier is dedicated to work from the outlet only, I decided to move in the linear stabilization direction.
What do I want?
In the last article I reviewed the remote control based on the RC5 protocol, here I’m going to describe how I added it to my audio-amplifier.
Have to say, unlike usually, I did not meet any issues with this, so just describing the process.
Continue readingThere are tons of articles out there, but I decided to make my own device at the moment:
I had thoughts to make such a device long ago, but at this point of time, the necessity of having this stuff increased significantly. Initially, I found a cheap CP2102 IC, it was cheaper than the huge FT232RL, which has a lot of redundant for me functions. Then I went shopping (here I’m talking about Belarus like 8 years ago) and realized that for us CP2102 is more expensive than FT232RL. Well, my choice was kind of obvious.
Continue readingAfter I had enough time playing with a thermal sensor DS18b20 and the RTC DS1307 I decided to bundle them together into a single device. Another reason was the fact that the cheap Chinese clock called a day and let its electronic soul leave the nice enclosure. I considered this as an opportunity to put my stuff inside of it.
That is what I got in the end:
+1 reason is that I had a free sample of the “port expander” PCA9539, I mentioned this IC in experiment #13.
Continue readingAs you can understand from the title, this article is a short manual about assembling of the device which allows making the connection between your uart device and a PC by COM port.
Continue readingAt that point of time, I did not have a lot of possibilities to buy any commercial development board, so I had to make my own
I wanted to make a small board, not those huge with everything you can imagine, and, perhaps, never going to use. A 3d model shows what I wanted and what I made: 4 buttons + 4 LED hanging on the PORTB. There is also one button and one LED for PORTA. Everything can be disconnected from the microcontroller using the dip switch.
Continue reading